The Need for an Automatic Pet Feeder
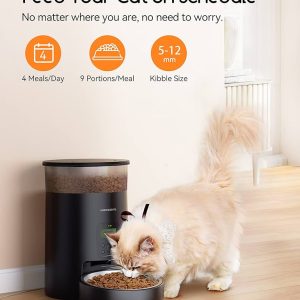
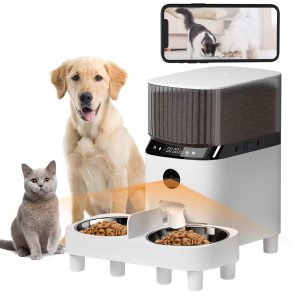
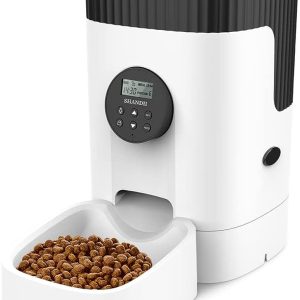
Taking care of a pet requires more than just feeding them. It also requires making sure they are eating on a schedule, especially for pets that require frequent feeding. For busy pet owners, an automatic pet feeder is the solution to keep their pets healthy and happy. In this tutorial, we will show you how to build an automatic pet feeder using Arduino.
What is Arduino?
Arduino is an open-source hardware and software platform that is designed for building electronics projects. It is a microcontroller board that can be programmed to control various electronic devices such as motors, sensors, and LED lights. With its easy-to-use programming language, it is perfect for beginners and advanced users alike.
Materials Needed
To build an automatic pet feeder, you will need the following materials:
- Arduino Uno board
- Servo motor
- Power supply
- Breadboard
- Jumper wires
- Food dispenser
Building the Automatic Pet Feeder
First, connect the servo motor to the breadboard and then connect it to the Arduino Uno board. Make sure to connect the power supply to the breadboard as well. After that, connect the food dispenser to the servo motor. The servo motor will control the rotation of the food dispenser to dispense food.
Programming the Arduino
To program the Arduino, you will need to use the Arduino IDE software. First, you will need to install the software onto your computer. After that, you can start programming the Arduino. The code will control the servo motor to rotate the food dispenser at a set time interval. You can adjust the time interval to suit your pet’s feeding schedule.
Testing the Automatic Pet Feeder
After programming the Arduino, you can test the automatic pet feeder by connecting it to the power supply. The servo motor should rotate the food dispenser at the set time interval. Make sure to test it multiple times to ensure that it is working correctly.
Conclusion
Building an automatic pet feeder with Arduino is a fun and easy project that can help busy pet owners keep their pets healthy and happy. With the right materials and programming, you can create a pet feeder that will dispense food on a schedule. So, give it a try and see how it works for you and your pet!


